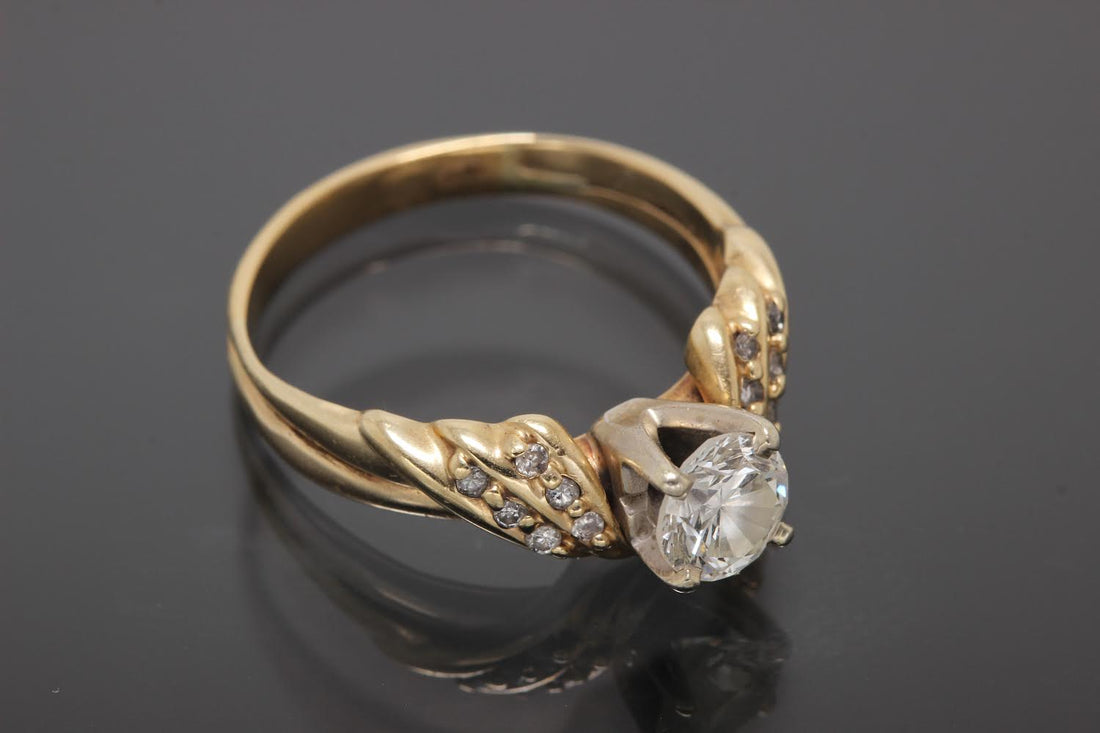
Resizing Wedding Ring
For years I have had to set my wedding ring aside, waiting to have it resized. As I progressed on my jewelry journey, it got more and more difficult to justify the cost of having someone else do the work. At the same time, however, I was terrified to do the work! A dear friend and fellow jeweler was visiting me this summer, and encouraged me to tackle this project. There’s safety in numbers, so I took a deep breath and took a saw and torch to my ring. It came out beautifully, and gave me so much more confidence in my skills!
The solitaire ring was my mother’s engagement ring, and I’ve been married for 33 years, so the ring has had a lot of wear and the bands were wearing very thin. After having four kids, they were also too small. So, much of the band had to be replaced. The first step was to remove the thinnest portion of the band and to melt metal and roll a piece of wire that is the correct size.


