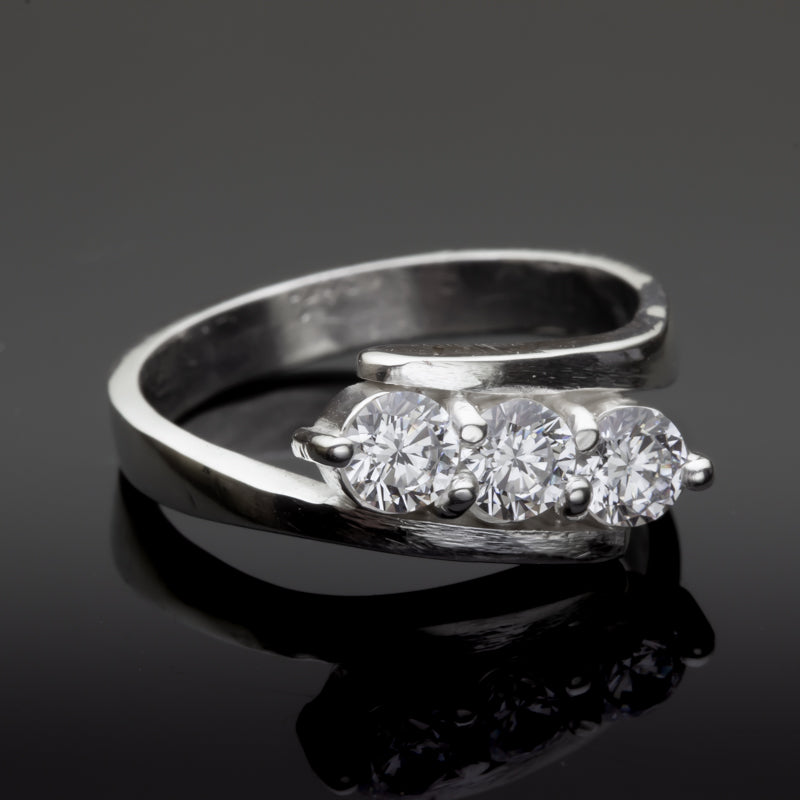
Three Stone Crossover Ring
This is the fifth project from Stage 6 of the Silver program at Jewellery Training Solutions. This was a really fun project, and I just love how it turned out. I definitely plan on making more of these. I also plan on using this same setting idea to make some pendants.

What were the challenges?
The biggest challenge I had was making the ring shank the correct size. First it was way too big, then I cut too much off, and I was finally able to tap it up to a size 7. With forging the shank in two directions and also with the crossover, it’s difficult to gauge the length of blank needed.
Where could I improve?
I’m actually quite happy with how this ring turned out. There are still some tool marks that should be removed (seen under magnification), otherwise, there’s not much I would change.
What did I learn?
This is the same type of setting used for the five stone ring I previously made, so it was a lot of fun to repeat this and have it turn out the first try. My precise soldering skills are improving - I didn’t even melt any prongs! One thing that I did that I learned from the previous project was to make the tubing just slightly bigger than the stones, only by a tenth of a mm. But it was enough where the stones weren’t touching each other like they were in the previous project.
